After making the pendant for my friend Sunny, I needed to make one for his wife Layla. I talked her into letting me add a little bells and whistles to it. In case you are wondering. I am not charging for anything! The cost of stones and sterling silver is out of my own pocket.
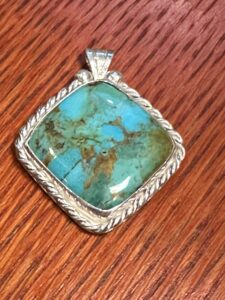
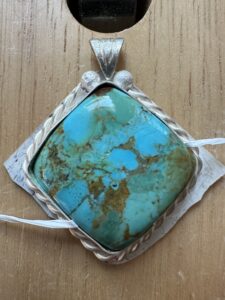
This is a turquoise sterling silver pendant. Bought this stone with several others on Etsy. They are around $8 – $9 and shipped from India. Showed this to my instructor, and her first comment was – “Looks like they are colored”. More on this in later articles. In this case, they are great for learning projects.
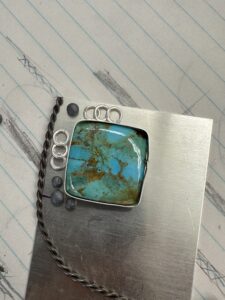
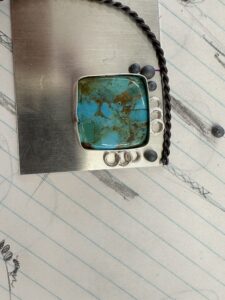
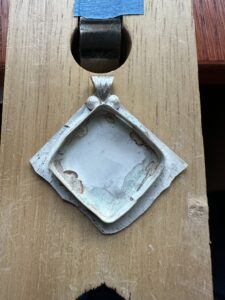
Start sizing and shaping the bezel. Once it is soldered, we will need to make sure there are no gap between the bezel and the backing plate. Sanding is required to make it flush with the backing plate. Laying out the design to get a visual of the end product (bottom right photo). Here, I was trying to have twisted wire wrap around 70% of the stone and have 5 balls sitting on jump rings lining the bottom.
laying out designs for the finished product. using rings and balls
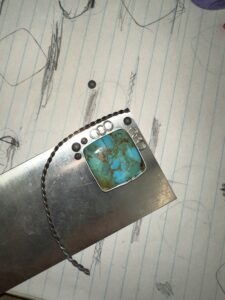
The recipient wanted a simpler design.
The bail is bigger but still the opening is small for most chain
I am making this for Sunny’s wife, and I was able to convince her to add a little twist to the pendant. The balls did not make it into the final design. On the bright side, they can go on my next project. The white strip coming out on both side of the stone is a strip of Teflon pipe tape. This technique is useful for fitting the stone into the bezel. It is used to pull out the stone if you need to.
Lesson learned: This time the bail is bigger than the first pendant, but still overlook the loop hole size. It was still too tight for most chains.